
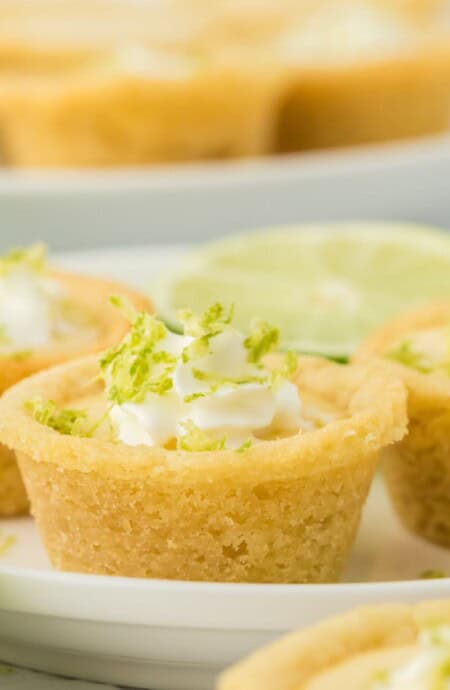
These key lime pie cookie cups are seriously the cutest version of key lime pie I’ve ever made! And I’ve made a lot, y’all. The only thing different from my OG recipe is I swap out the graham cracker crust for pre-made sugar cookie dough. It holds the filling better and makes life easier when you have a crowd to feed. That’s why I keep these in rotation for birthdays, baby showers, or after-dinner sugar cravings.
This post may contain affiliate links. Read our disclosure policy.

How to Make Key Lime Cookie Cups
Bake the Cookie Cups
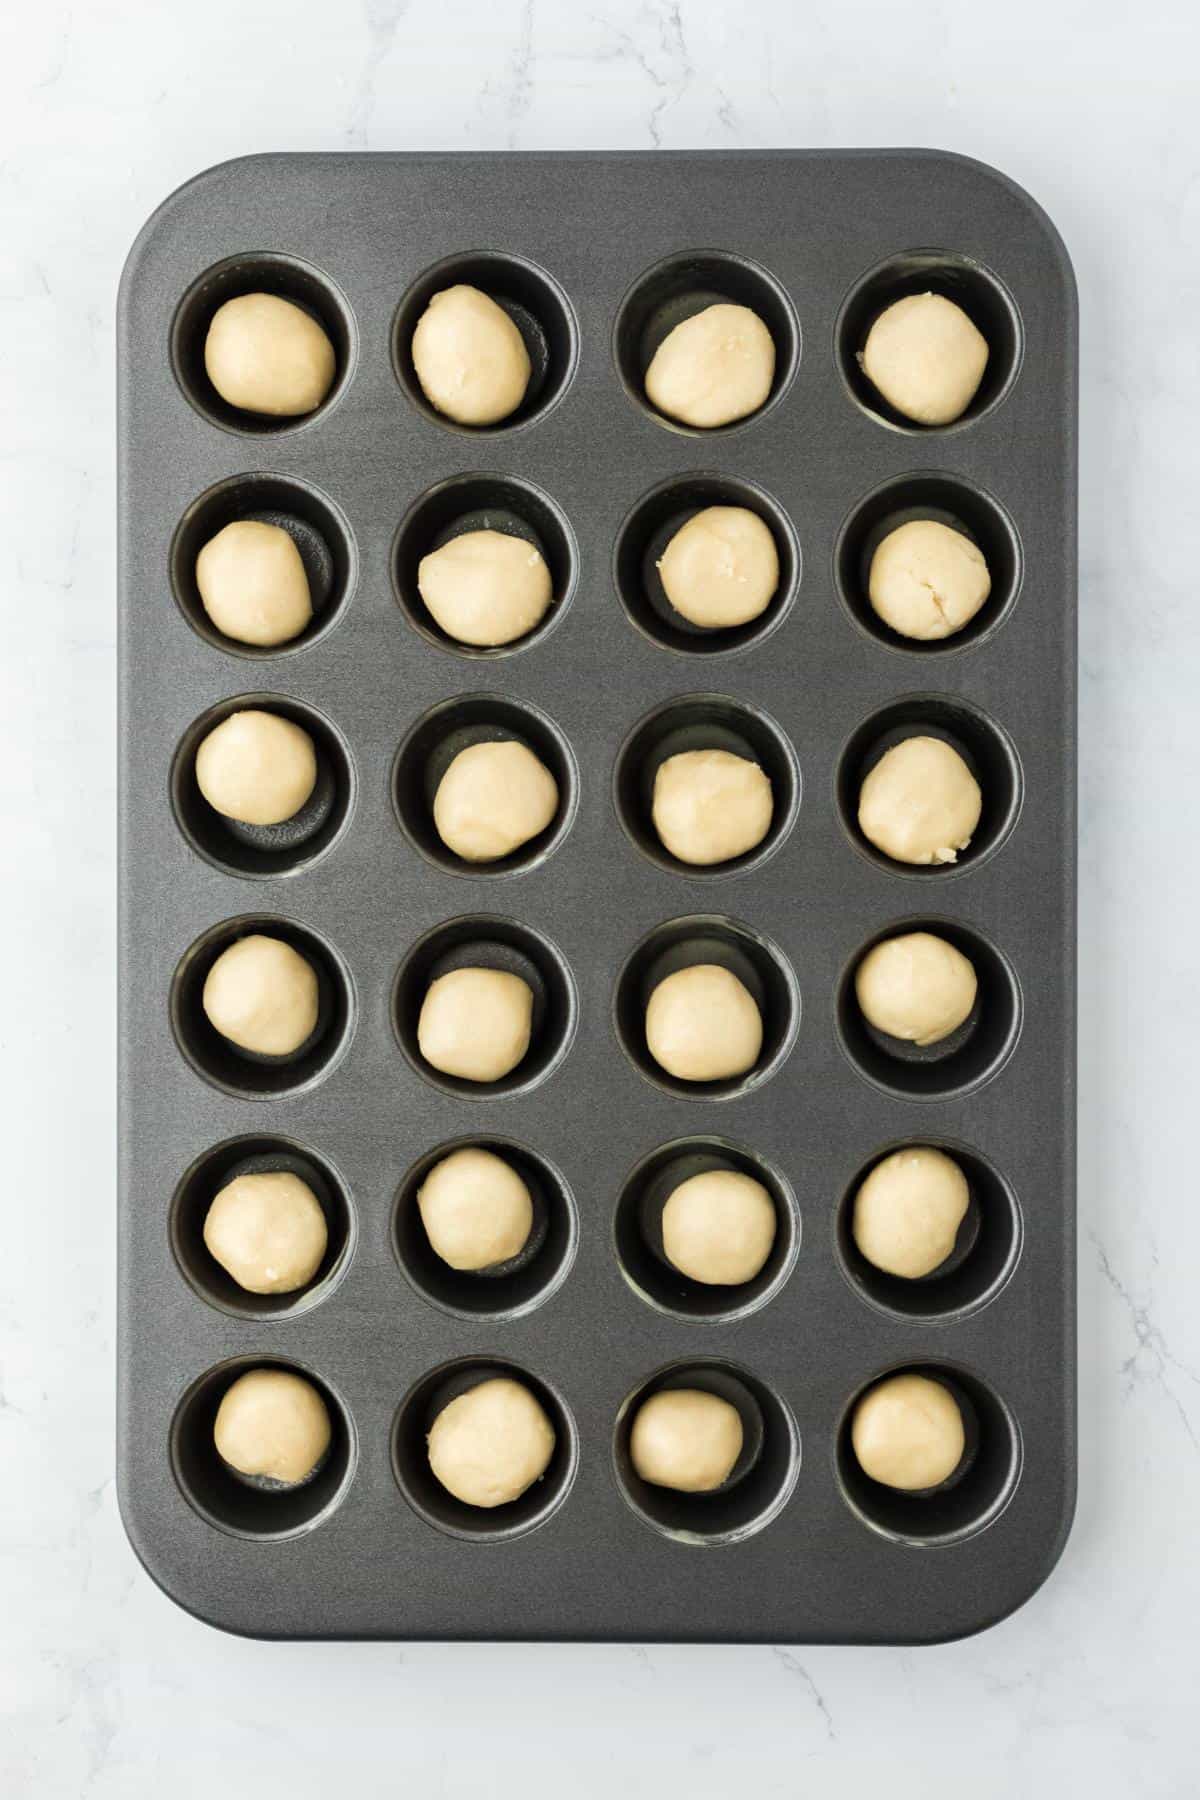
Step 1: Roll the cookie dough into balls and place each one in the bottom of each muffin tin. Bake the cookies until golden brown.
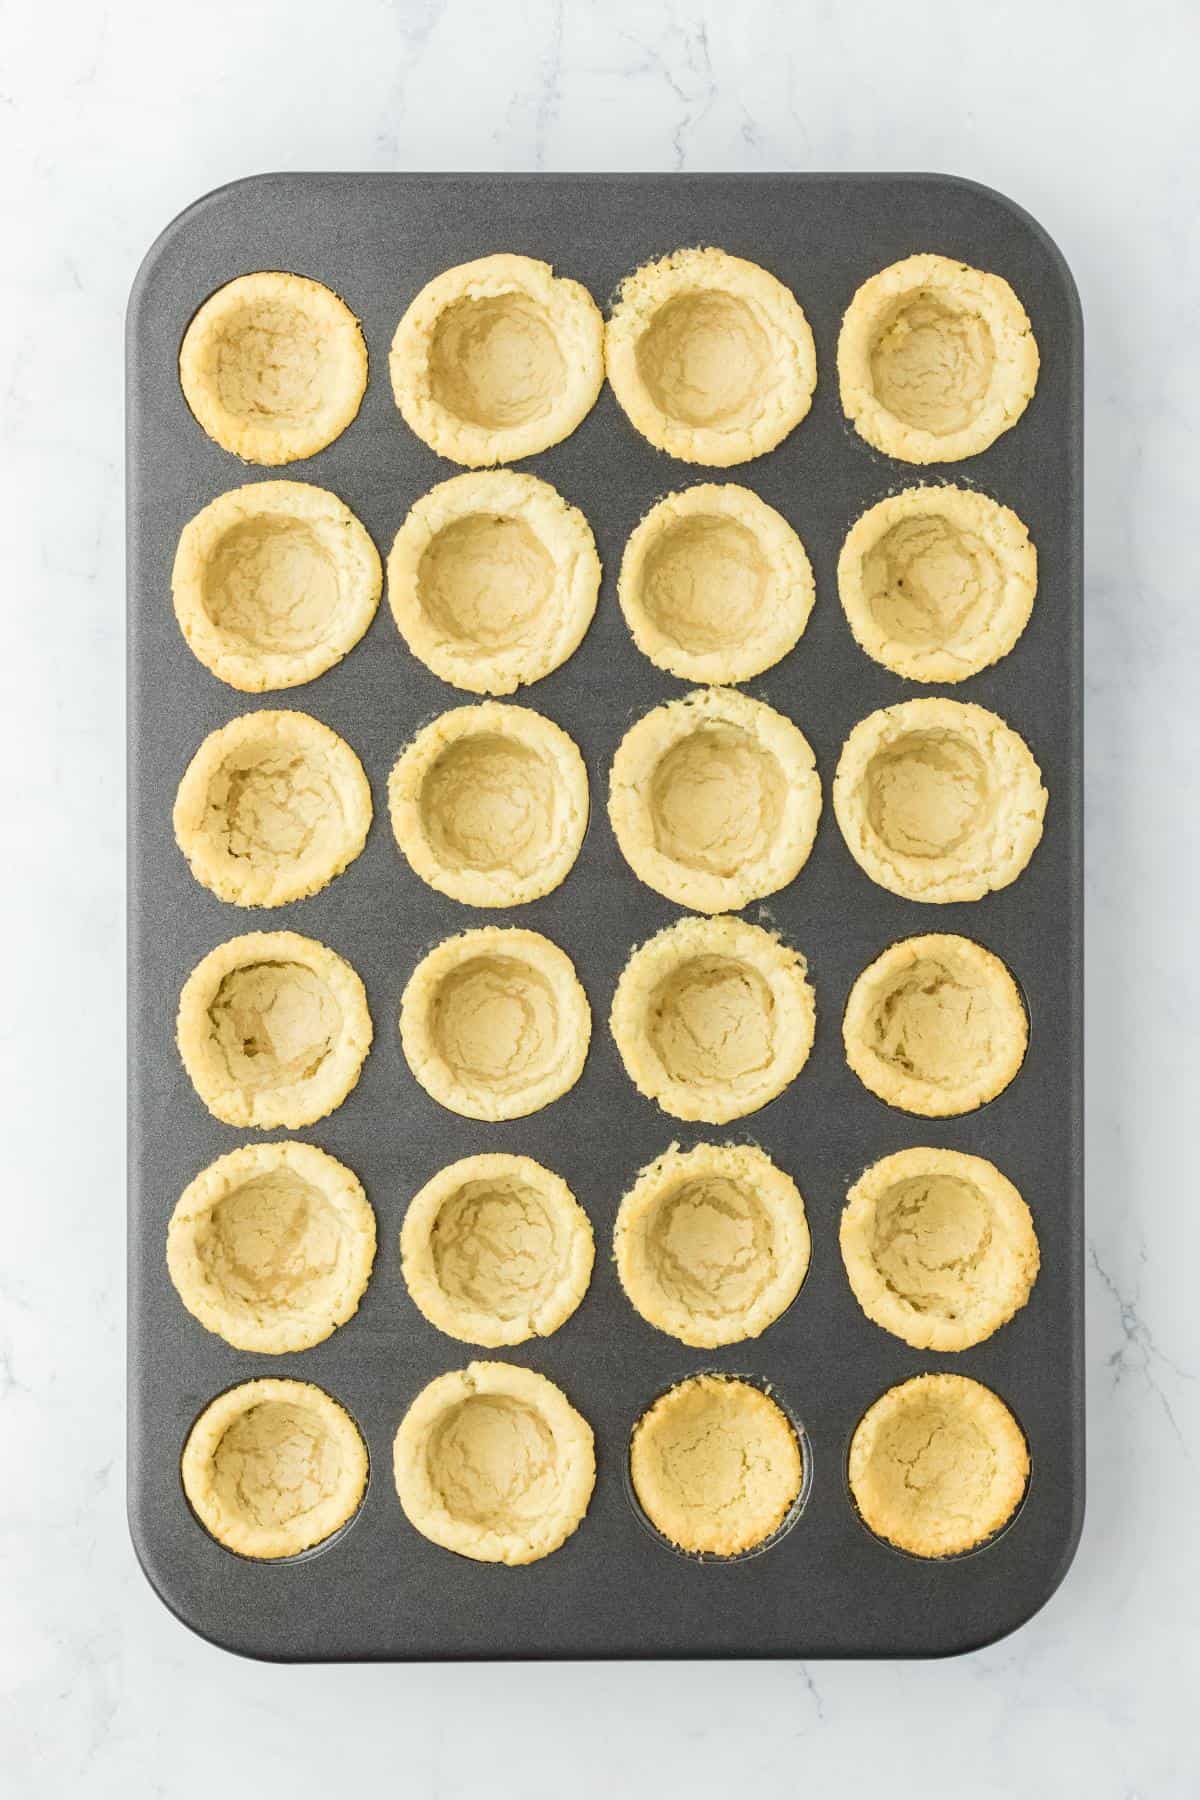
Step 2: Press the center of each cookie with a spoon to form the cup shape, let them cool in the pan, then carefully transfer to a rack to finish cooling.
Make the Filling
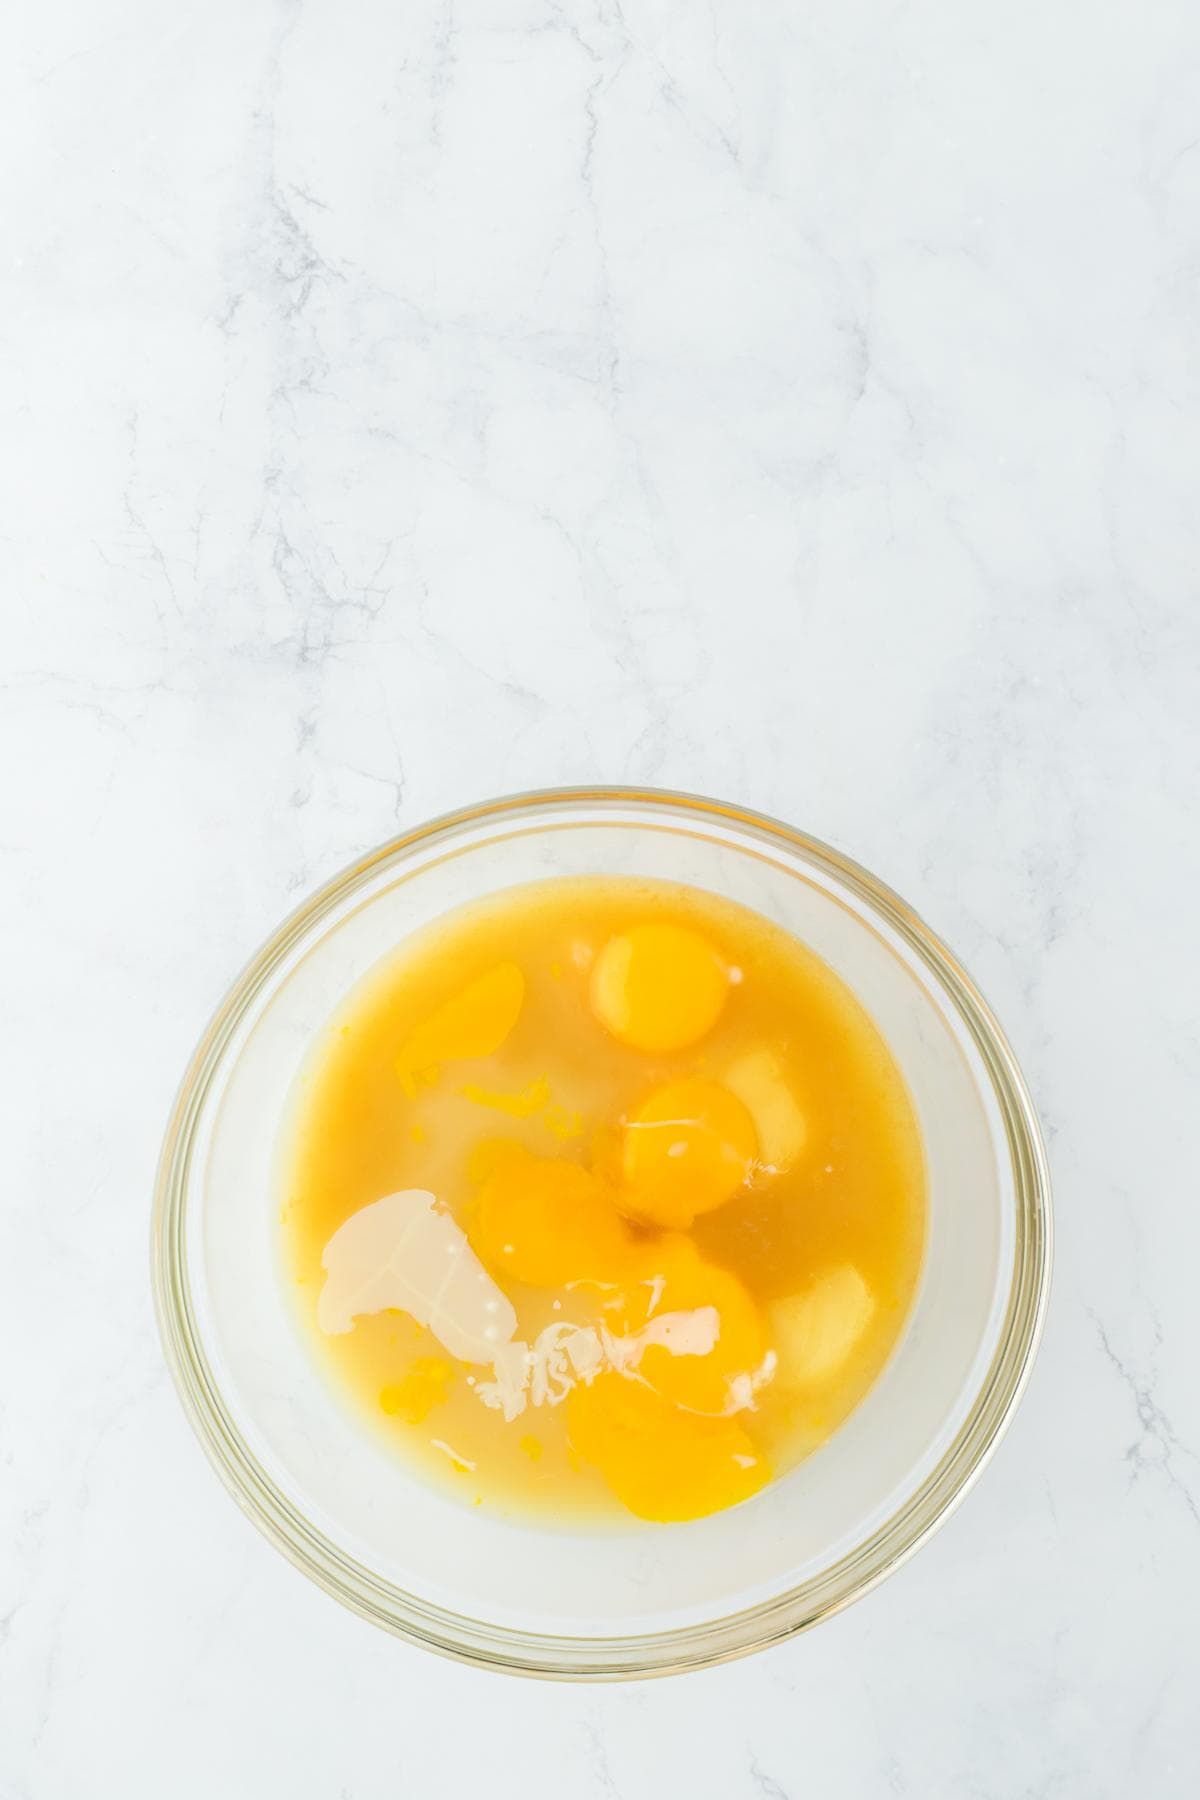
Step 3: Combine the egg yolks, key lime juice, sweetened condensed milk, and pure vanilla extract in a medium bowl. Whisk together until creamy and well-mixed.
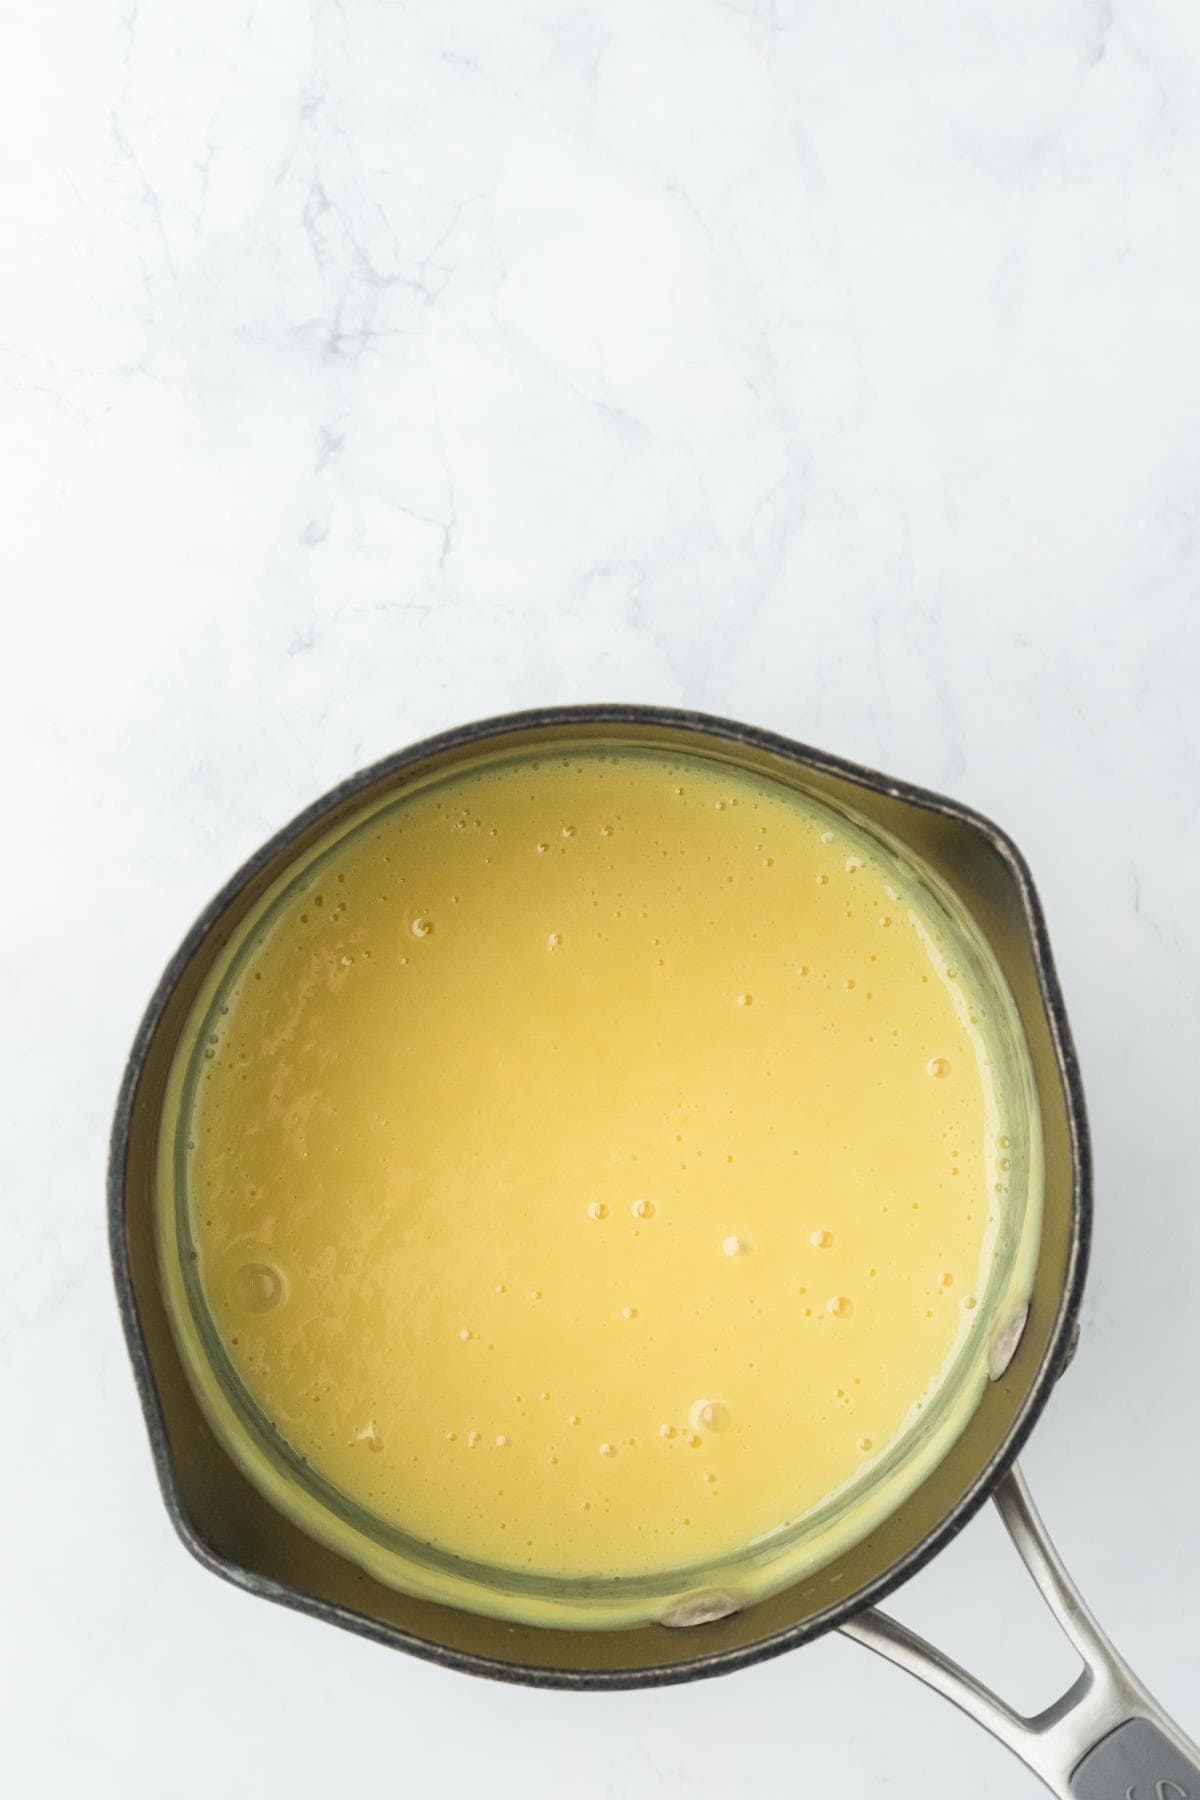
Step 4: Cook the mixture in a pot over medium-low heat, stirring until warmed through, then take it off the heat and let it cool.
Want to Save This Recipe, Boo?
Assemble Your Cups!
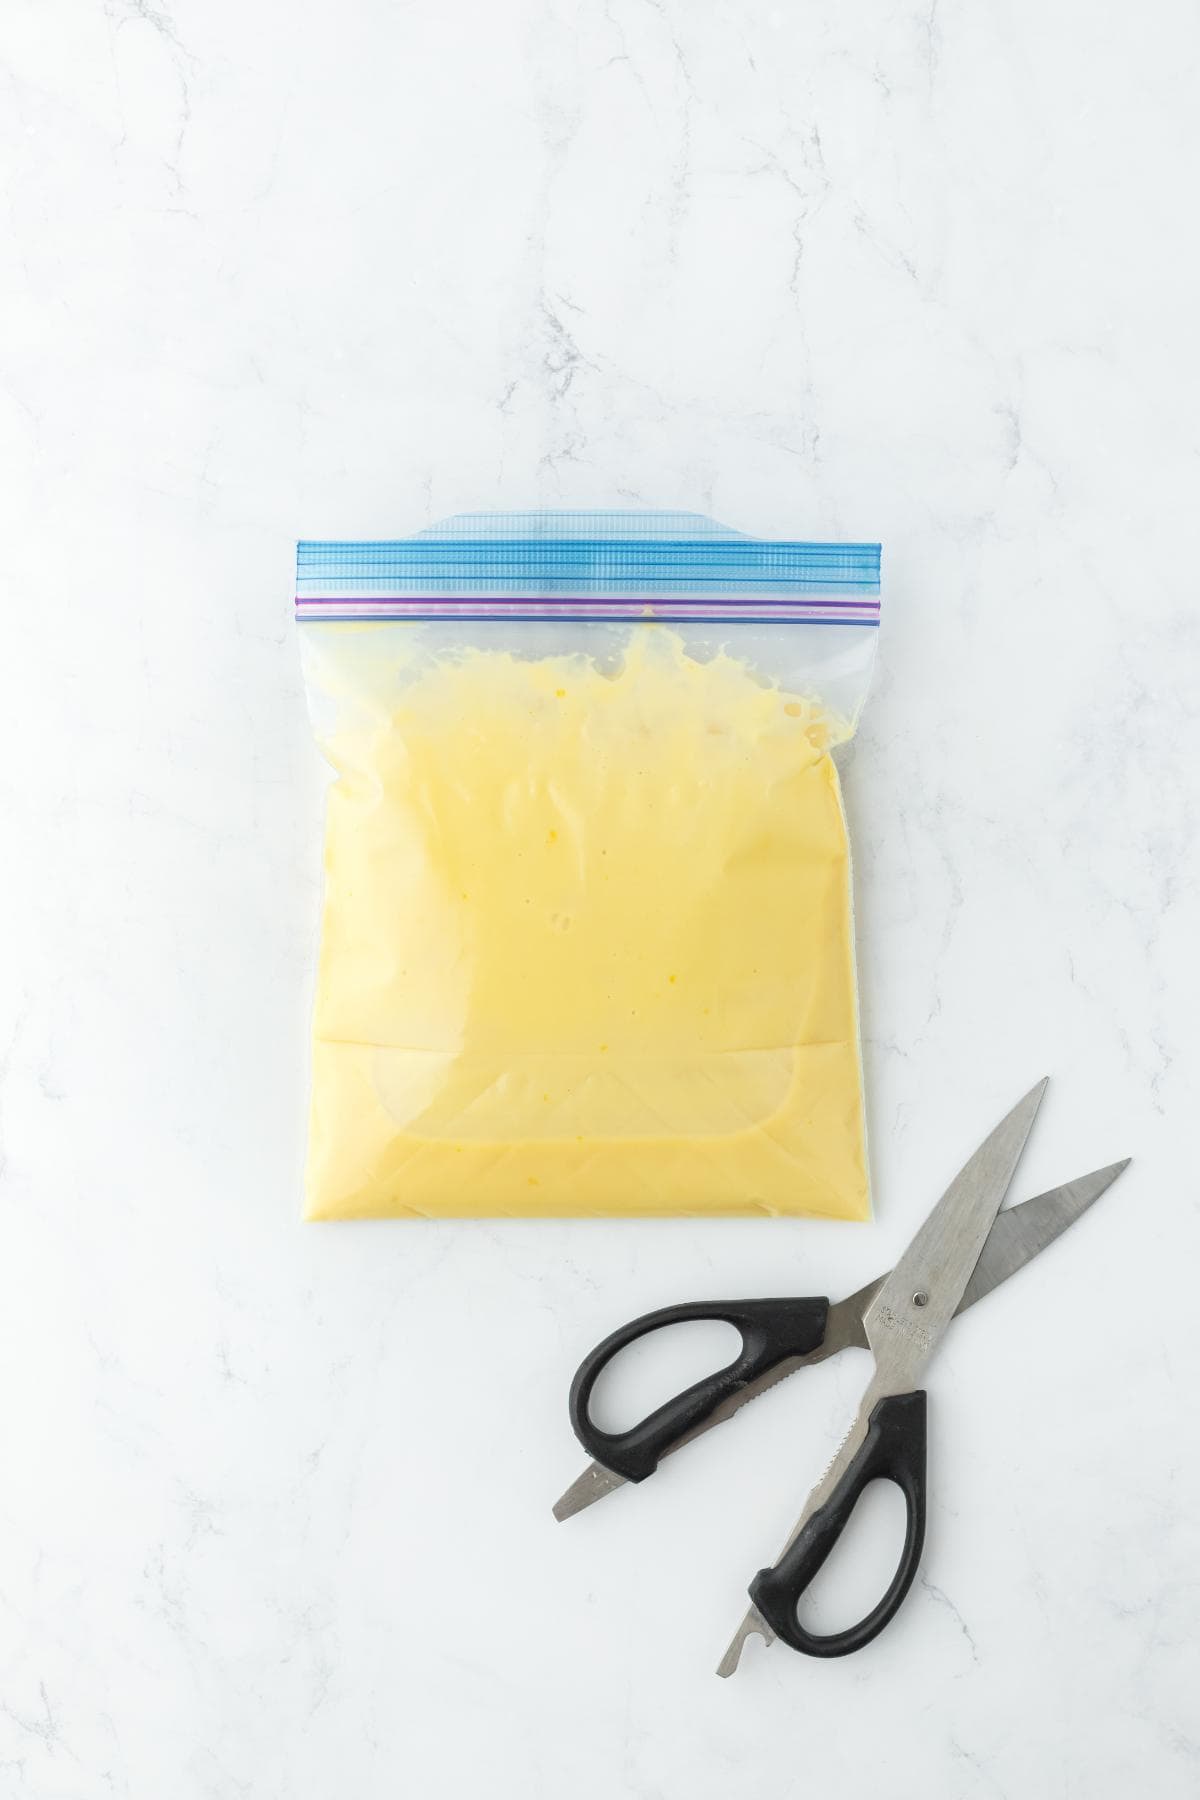
Step 5: Fill a Ziploc bag with a snipped corner or a piping bag with the key lime curd mixture.
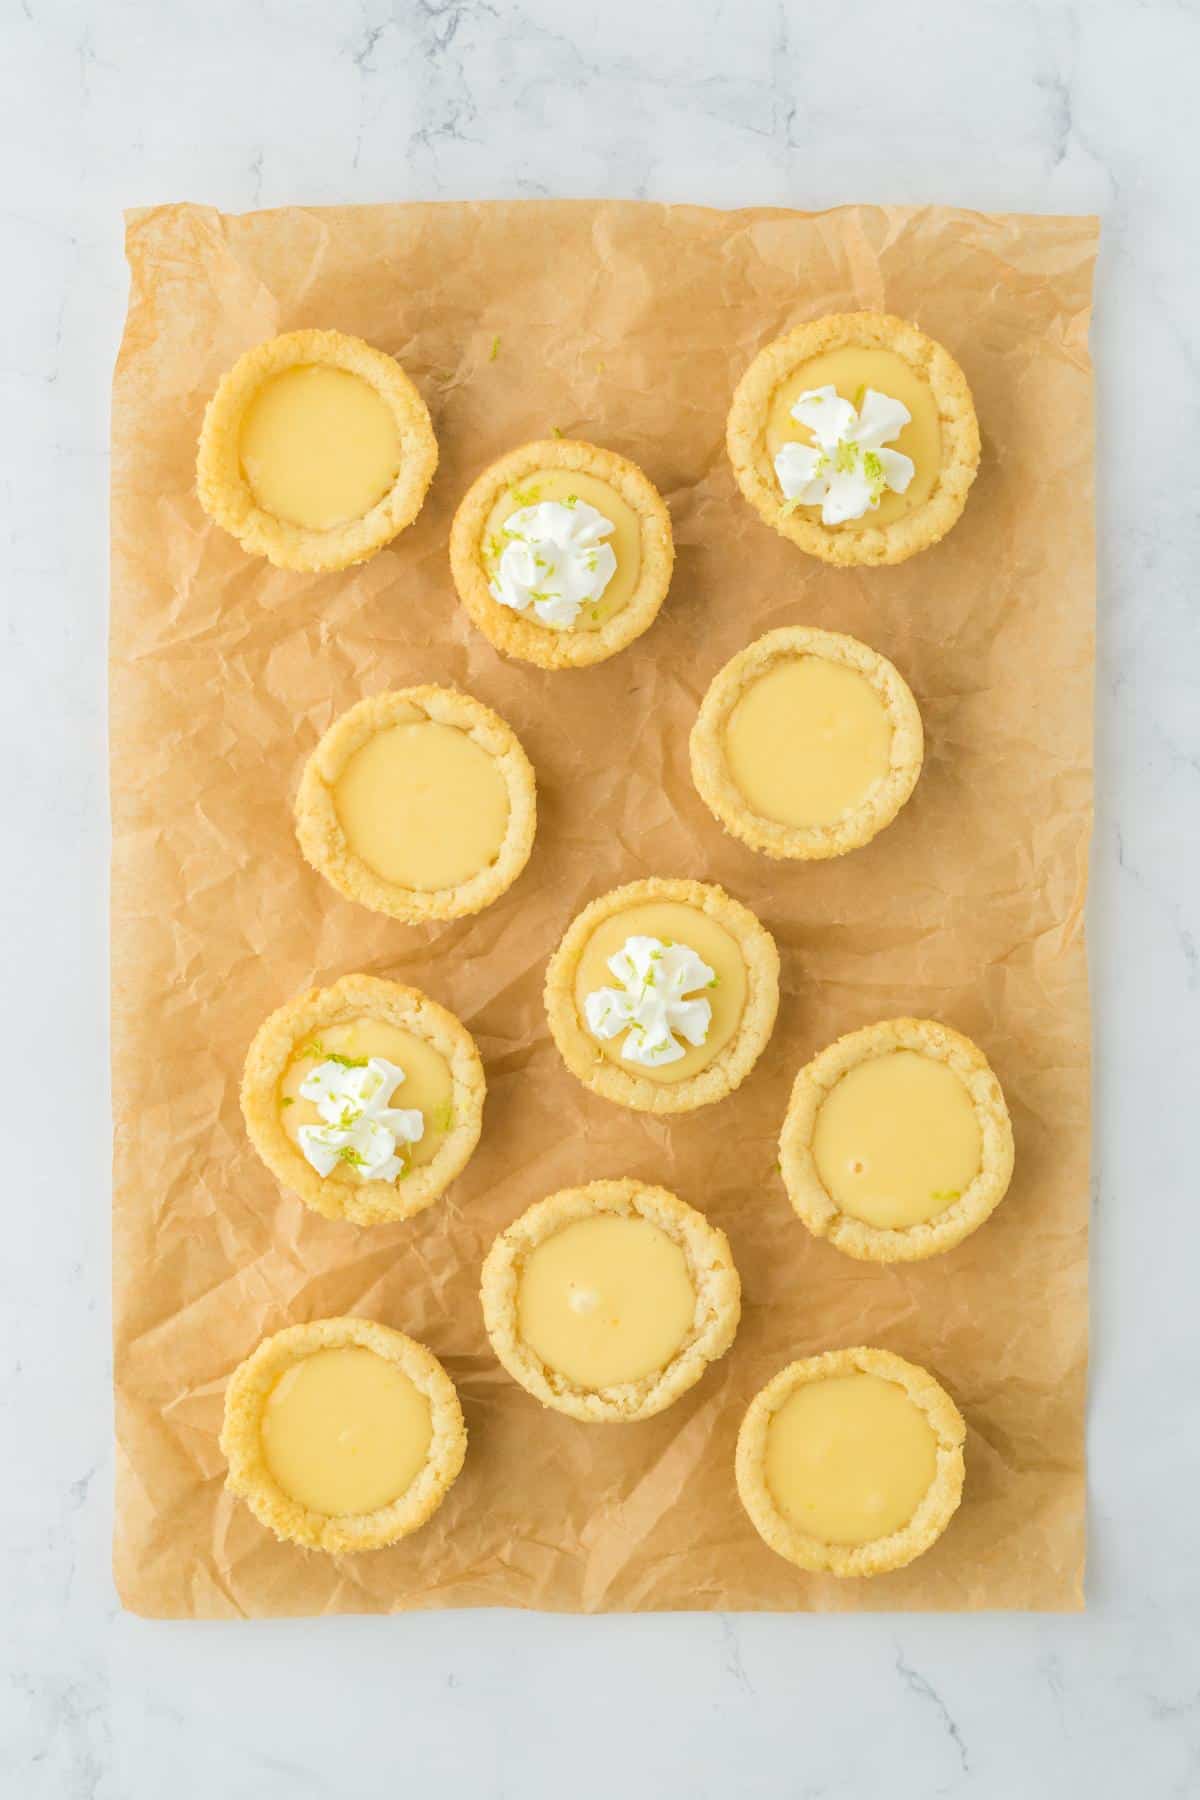
Step 6: Pipe key lime curd into the center of each cookie cup until filled. Garnish with whipped cream and lime zest, and refrigerate for at least one hour before serving.
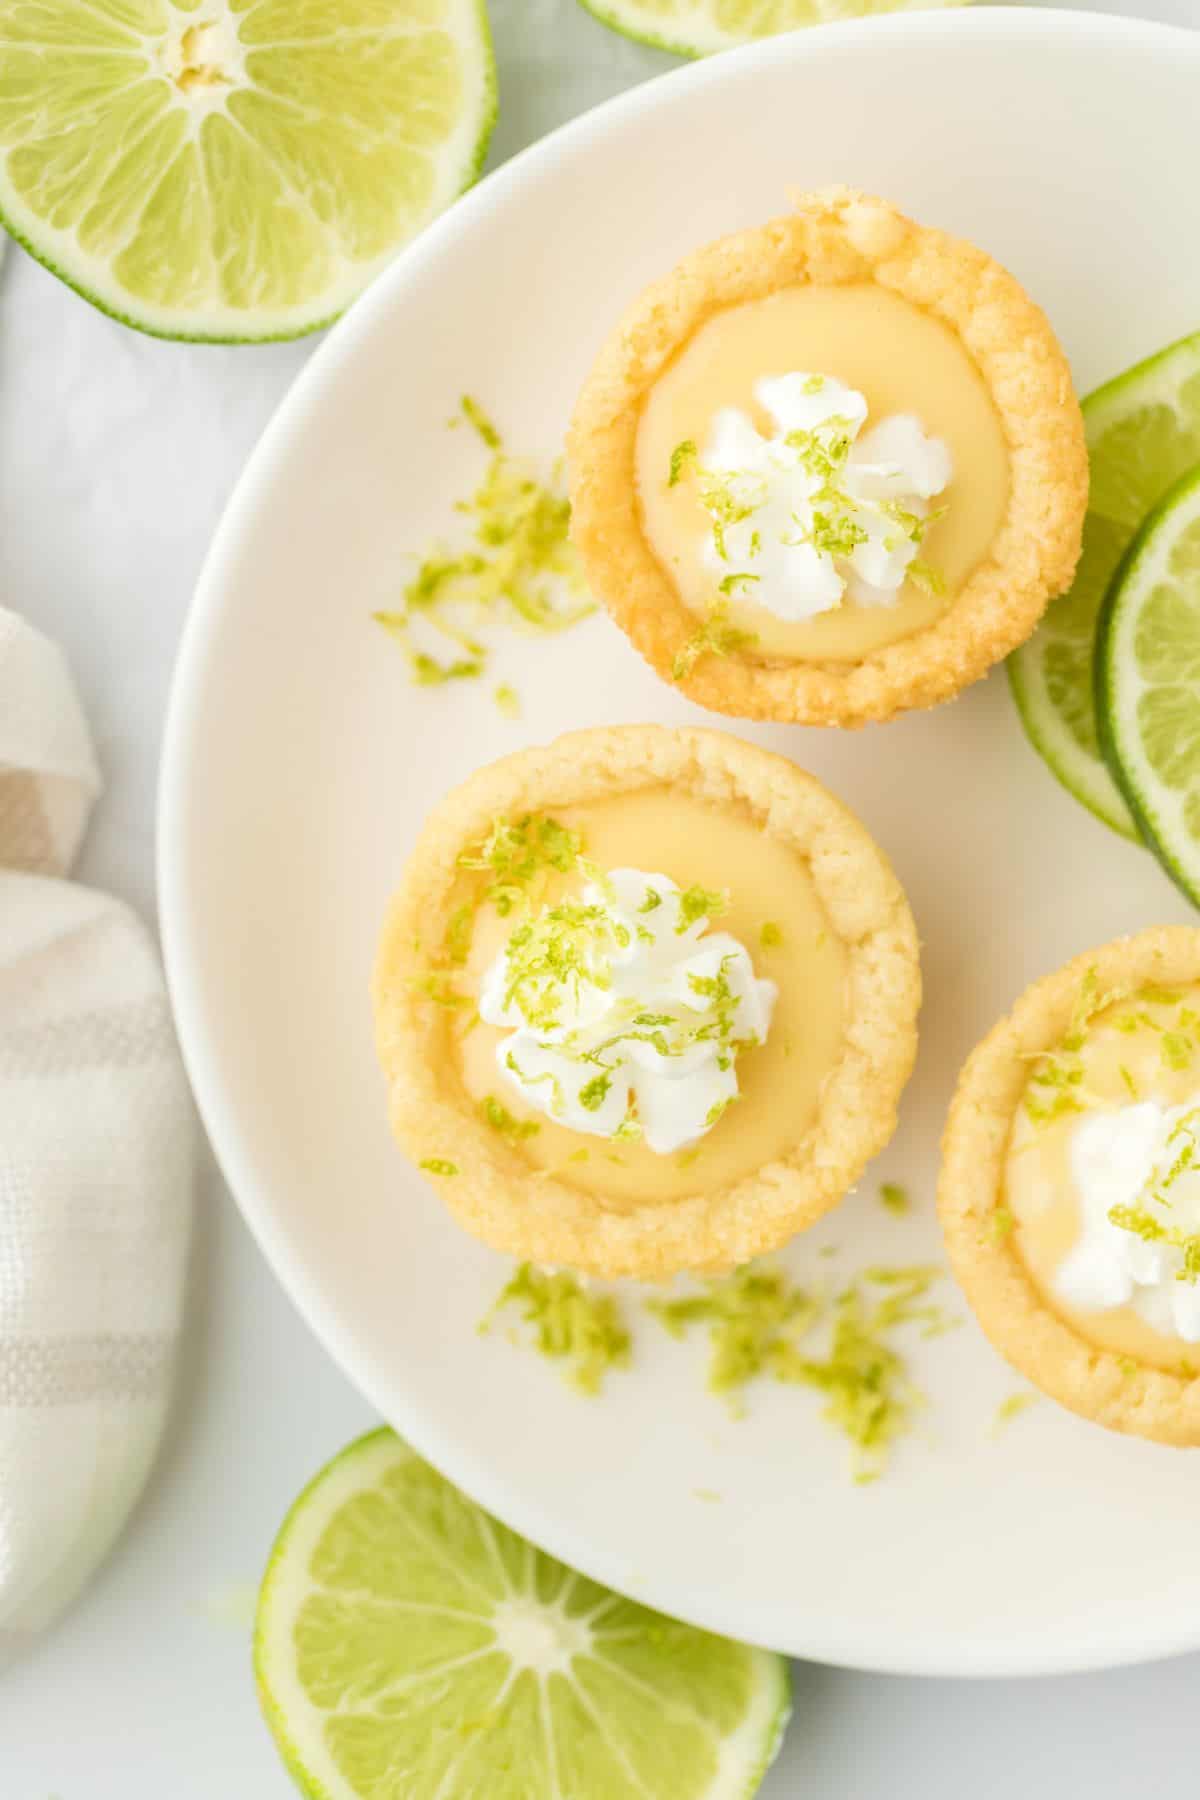
Key Lime Pie Cookie Cups
Want to Save This Recipe, Boo?
Ingredients
- 1 package Pillsbury Ready to Bake! Sugar Cookie Dough
- 3 large egg yolks
- ½ cup key lime juice
- 14 ounces sweetened condensed milk 1 can
- 1 teaspoon pure vanilla extract
- Whipped cream and lime zest for garnish
Instructions
For the Cookie Cups:
- Preheat oven to 350 degrees.
- Spray a 24 mini muffin pan with non-stick baking spray.
- Roll each separate cookie into a ball and place in the bottom of each muffin tin.
- Bake cookies for 10-12 minutes or until golden brown. Remove cookies from oven and gently press a spoon in the center of each baked cookie to make the shape of the cup.
- After 10 minutes, gently remove cookie cups from the muffin pan and place on a cooling rack until completely cooled.
For the Key Lime Filling:
- Whisk together egg yolks, key lime juice, sweetened condensed milk, and pure vanilla extract.
- Pour into a medium sized pot and saute over medium to low heat to cook through the eggs.
- Keep on heat and stir for 12-14 minutes until nice and warm. Remove and allow to cool.
To Assemble:
- Fill a ziploc bag with snipped side or piping bag with key lime curd mixture.
- Pipe key lime curd into direct centers of each cookie cup until filled.
- Next garnish with whipped cream and lime zest and refrigerate for at least one hour and serve.
Notes
- Zest your limes before you juice them. It’s way easier to get the zest off while the limes are still whole. And don’t go too deep, boos! Avoid the bitter white pith under the green skin. There’s nothing worse than bitter key lime pie cups.
- Roll your limes on the counter before juicing. Press down with your palm and give them a good roll to get the most juice out.
- Check your cookie cups early. Some ovens run hot, so peek in a couple minutes before the timer to keep them from overbaking.
- Shape the cups while they’re still hot. Grab a spoon and press the centers down gently while the cookies are fresh out the oven. They’ll firm up quick as they cool.
- Fridge: Store your key lime pie cups in an airtight container. They will keep for up to 5 days. If possible, wait to add the whipped cream topping right before serving.
- Freezer: I don’t recommend freezing the full key lime pie cups with the filling boos, but you can bake the cookie cups ahead of time and freeze those on their own. Just pop them in a freezer-safe container and they’ll be good for up to 2 months.
Nutrition
Recipe Help
Yup, just go with something soft like sugar cookie dough, oatmeal, or chocolate chip. You want dough that’s easy to press into the muffin tin for this cookie cups recipe.
Keep an eye on the edges, boos. Once they start to turn golden and the centers look set (not raw), they’re good.
Yep, just divide the dough into 12 balls instead of 24. Follow the same steps, but you will probably need to bake them a couple minutes longer since they’re bigger.
 pinterest
Love, love, love these! I decided on the spur of the moment to make these and they turned out great. I’m not a fan of store bought sugar cookies, but I needed the convenience today. The delicious filling more than compensated for me not loving store sugar cookies. These were amazing and so easy! People will think you put way more time into these than you do.
I found that a tablespoon measuring spoon worked perfectly to make the cookies into cups. I was afraid I’d poke through them with a spoon and the tablespoon measuring spoon worked great!
Thank you for the lovely recipe!
You’re so welcome! Glad you liked them, sometimes a short cut isn’t always so bad!